growfoxy · digital products
grab a pack. start creating.
premium LUTs & ready-to-post content bundles — instant download, lifetime access.
- ⚡ instant download
- ♾ lifetime access
- 🔒 secure checkout
cinematic LUT packs

reels & content bundles

color grading guide · updated july 2026
Cinematic LUTs: The Complete Guide to One-Click Color Grading
By the Growfoxy team · 8 min read
Great color is the difference between footage that looks flat and footage that looks like a film. This guide explains what cinematic LUTs are, how to use them in any editor, the mistakes to avoid, and how to pick the right pack — so you can grade in seconds instead of hours.
Quick answer
A cinematic LUT (Look-Up Table) is a preset colour transformation you drop onto a video clip to instantly give it a film-style look. LUTs in the universal .cube format work in Premiere Pro, DaVinci Resolve, Final Cut Pro, After Effects, Filmora and CapCut. You import the file, apply it to your clip, and adjust the intensity — no colour-grading experience needed.
What is a LUT?
A LUT, short for Look-Up Table, is a file that maps every colour in your footage to a new colour. Think of it as a recipe: for each input colour, the LUT already knows the exact output colour to display. Load one onto a clip and your entire shot is re-graded at once — shadows, midtones and highlights all shift together into a cohesive, intentional look.
Because a LUT applies the same transformation consistently across every frame, it keeps your footage looking uniform — which is exactly what you want across a reel, a wedding film or a multi-shot sequence.
What does a cinematic LUT actually do?
A cinematic LUT recreates the colour signature of professional film and cinema. Instead of the flat, slightly grey look most cameras and phones capture by default, a good LUT adds:
- Contrast and depth — richer blacks and cleaner highlights.
- Colour direction — warm skin tones with cool shadows (the classic "teal & orange"), or moody, vintage, or neon looks.
- Mood — the same clip can feel warm and romantic, cold and tense, or bright and commercial, just by swapping the LUT.
Why .cube is the format that matters
The .cube file is the universal standard for 3D LUTs. If a piece of editing software supports LUTs at all, it almost certainly reads .cube. That means one pack works everywhere — you are not locked into a single app. Every Growfoxy LUT ships as a .cube file for exactly this reason.
How to use LUTs in every major editor
Applying a LUT takes under two minutes. Here is the exact path in each editor:
| Editor | Where to apply your .cube LUT |
|---|---|
| Premiere Pro | Lumetri Color → Creative → Look → Browse → select .cube. Adjust Intensity. |
| DaVinci Resolve | Colour page → right-click clip → LUT → pick the look. Lower strength via Key → Output Gain. |
| Final Cut Pro | Add the "Custom LUT" effect → Choose Custom LUT → Import .cube. Control the Mix. |
| After Effects | Effect → Utility → Apply Color LUT. |
| CapCut (desktop) | Select clip → Adjustment → LUT → Import → choose .cube. Use the intensity slider. |
Tip: balance your exposure and white balance before applying a LUT, then dial the intensity down until it feels natural. A LUT is a starting point, not a one-size-fits-all switch.
LUTs for reels & short-form video
Short-form content lives or dies on the first second, and colour is a big part of the scroll-stopping "premium" feel. For Instagram Reels, YouTube Shorts and TikTok, apply a LUT in CapCut or your desktop editor, then keep the intensity slightly higher than you would for a long film — small phone screens and heavy compression flatten colour, so a touch more punch reads better. A teal & orange, vibrant, or moody look tends to perform best for creator content.
Common LUT mistakes to avoid
- Applying at 100% every time — most looks feel more natural pulled back to 60–80% intensity.
- Skipping exposure and white balance — a LUT amplifies whatever is already there, so correct the basics first.
- Using a Rec.709 LUT on raw LOG footage — convert LOG to 709 first (see below).
- One LUT for every shot — lighting changes between shots; fine-tune per clip for a consistent final grade.
Do LUTs work on LOG footage?
Standard "look" LUTs are built for normal Rec.709 footage. If you filmed in a LOG profile (S-Log, C-Log, V-Log, D-Log), first apply your camera's LOG-to-709 conversion, then add a cinematic LUT on top. On regular footage from a phone or a standard camera profile, you can apply the LUT directly.
The most popular cinematic LUT looks
Different scenes call for different colour. These are the categories creators reach for most:
- Teal & Orange — the Hollywood blockbuster look; warm skin, cool shadows.
- Moody / Film — desaturated, high-contrast, cinematic drama.
- Warm Sunset / Golden Hour — glowing, romantic warmth for weddings and travel.
- Cyberpunk / Neon — bold blues and magentas for nightlife and music videos.
- Vintage / Retro Film — faded, nostalgic film-stock emulation.
- Clean Commercial — bright, neutral, brand-safe colour for ads and product videos.
How much should a LUT pack cost?
Single boutique LUT packs often sell for the price of a few coffees, while large curated libraries cost more because of the range they cover. The real value isn't the number of files — it's how many looks you'll actually use and how well they're organised. A well-built pack pays for itself the first time it saves you an hour of manual grading. Growfoxy packs are priced as one-time purchases with lifetime access and free updates, so there's no subscription.
How to choose the right LUT pack
Look for four things: a universal .cube format, a wide range of categories so you're covered for any scene, adjustable intensity, and preview sheets so you can see a look before you apply it. Growfoxy's packs are built around exactly these:
- 500+ Cinematic LUTs Pack — the essentials, at the lowest entry price.
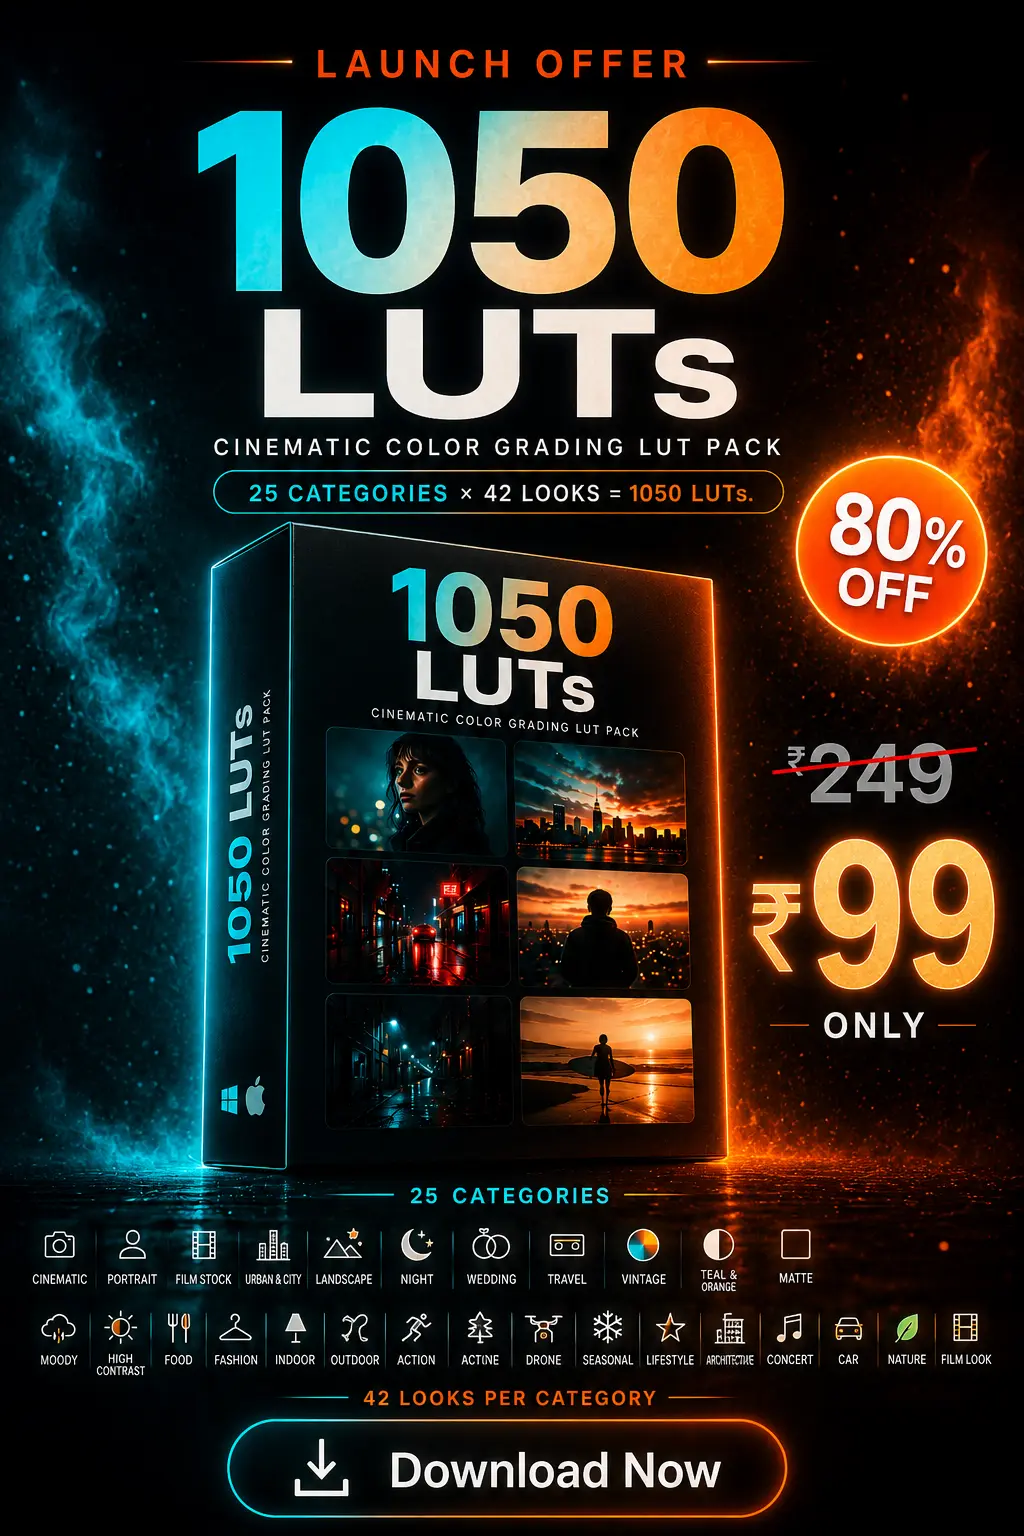
- 1050 Cinematic LUTs Pack — 25 categories for broader coverage.
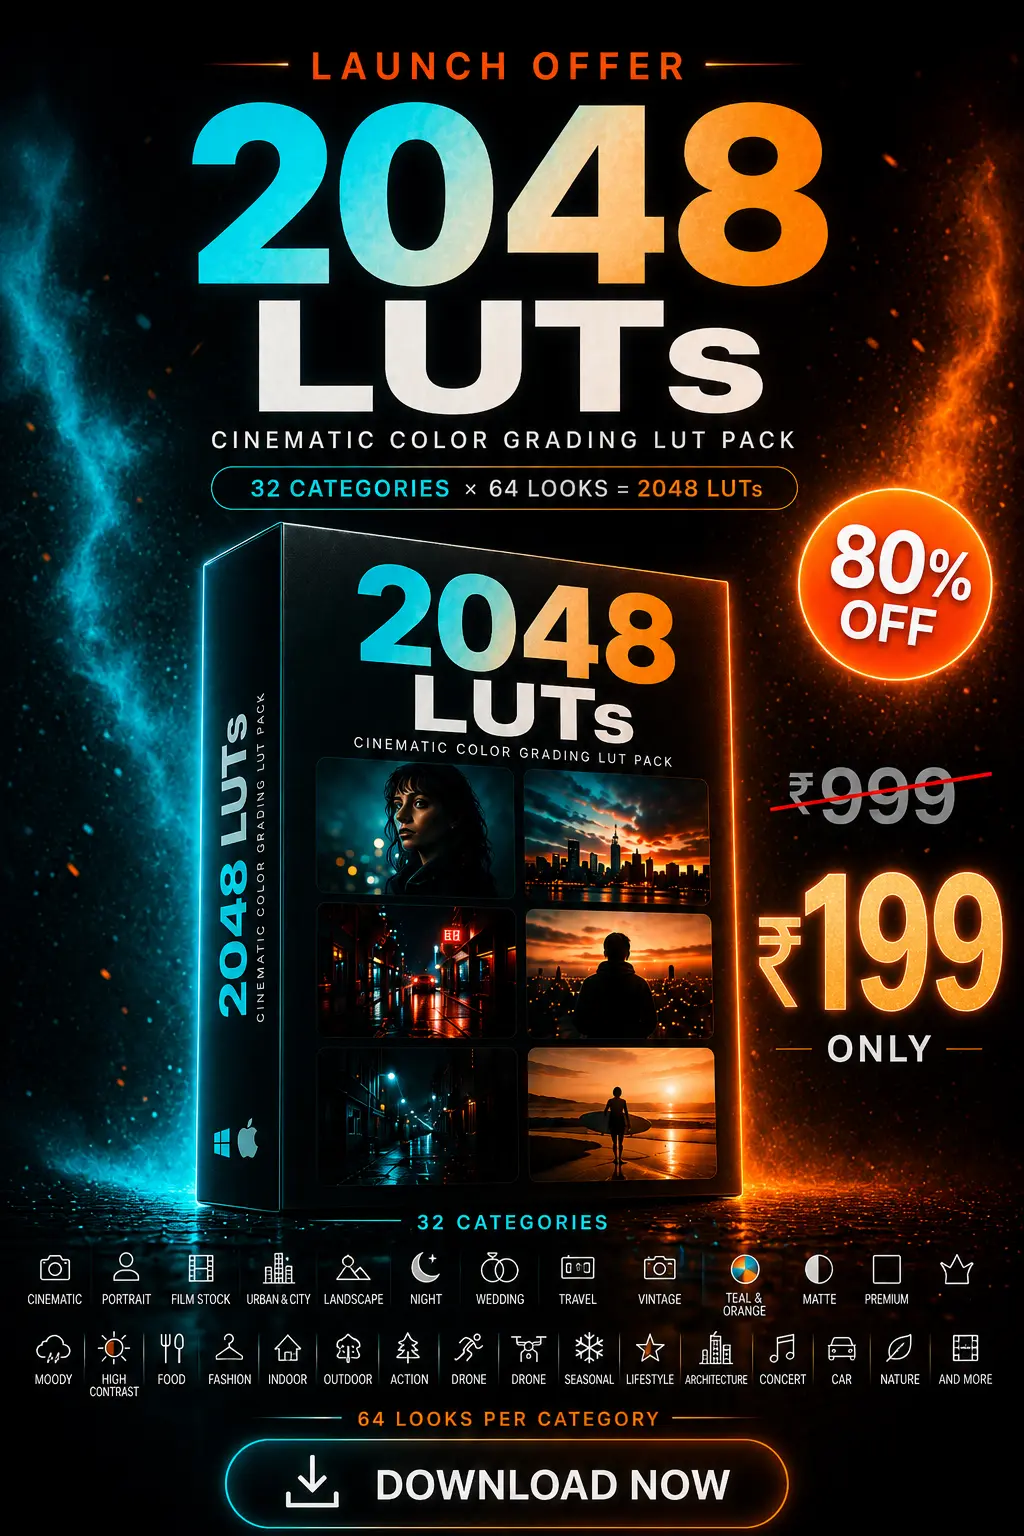
- 2048 Cinematic LUTs Pack — 32 categories, the complete cinematic library.
Every pack is a one-time purchase with lifetime access, instant download, and works in every editor that reads .cube LUTs.
Frequently asked questions
What is a cinematic LUT?
A cinematic LUT is a Look-Up Table preset that instantly transforms the colours of your video to a film-style look. You apply the .cube file to your clip in your editor and adjust the intensity.
Which software do these LUTs work with?
Any editor that reads .cube LUTs — including Premiere Pro, DaVinci Resolve, Final Cut Pro, After Effects, Photoshop, Filmora and CapCut.
Do I need editing experience to use LUTs?
No. If you can drag and drop a file, you can use LUTs. Import the .cube, apply it, and set the intensity — setup takes under two minutes.
Do cinematic LUTs work on mobile?
They work in any mobile app that supports .cube LUT import, such as VN. For full control, a desktop editor is recommended.
Do LUTs work on LOG footage?
Apply your camera's LOG-to-709 conversion first, then add the cinematic LUT on top. On standard Rec.709 footage you can apply the LUT directly.
Can I use these LUTs for client and commercial projects?
Yes. You can use them on personal and client videos. Reselling or redistributing the LUT files themselves is not allowed.
How many LUTs do I actually need?
Most editors regularly use 10–20 looks. A larger pack simply means you always have the right category ready — travel, wedding, moody, neon — without searching for a new LUT before every project.
Ready to make your footage look cinematic in one click?
Explore the LUT packs →